Create your new Django app
How to create a new Django app using Imagine, and useful Imagine commands
Install
If this is your first time using Imagine, you will need to install the Imagine SmartCompiler on your computer. (Note: If you have previously installed Imagine, your can skip to the section on how to create a new Django app with Imagine).
Install npm
- To be able to install the Imagine SmartCompiler, you need to have the
npmpackage manager installed on your machine. - To check if you have npm installed you can run this command in your terminal:
- If you get the error
npm: command not foundwhen you run the command, you will need to install npm first.
Install Imagine
- Once you have npm installed, run the following command to install Imagine on your computer:
- You can check that the compilation was successful by running the following command in your terminal:
- You should see the following output in your terminal:
- if you get the error
imagine: command not found, it points to an issue with your npm installation or environment settings. If this happens, please talk to us and we'll troubleshoot this live with you.
Create
Creating a Django app has never been easier than with Imagine!
Once you have installed Imagine on your computer,
mkdira new directory from the command line - this would be where you want to store the source code for your new app.Next,
cdinto your new directory.Then run the following command (you can replace
myappwith your chosen name for your new app):
- The above command will setup a new basic django app in the current directory - you can
lsto see the new generated files:
Run
- You can run your new app by running the command below. This command allows us run your app, including installing any packages that are needed.
- Once the command has finished executing, you will see the following message:
- You can now open the http://127.0.0.1:8000/ url, you will see a page that shows the install worked successfully.
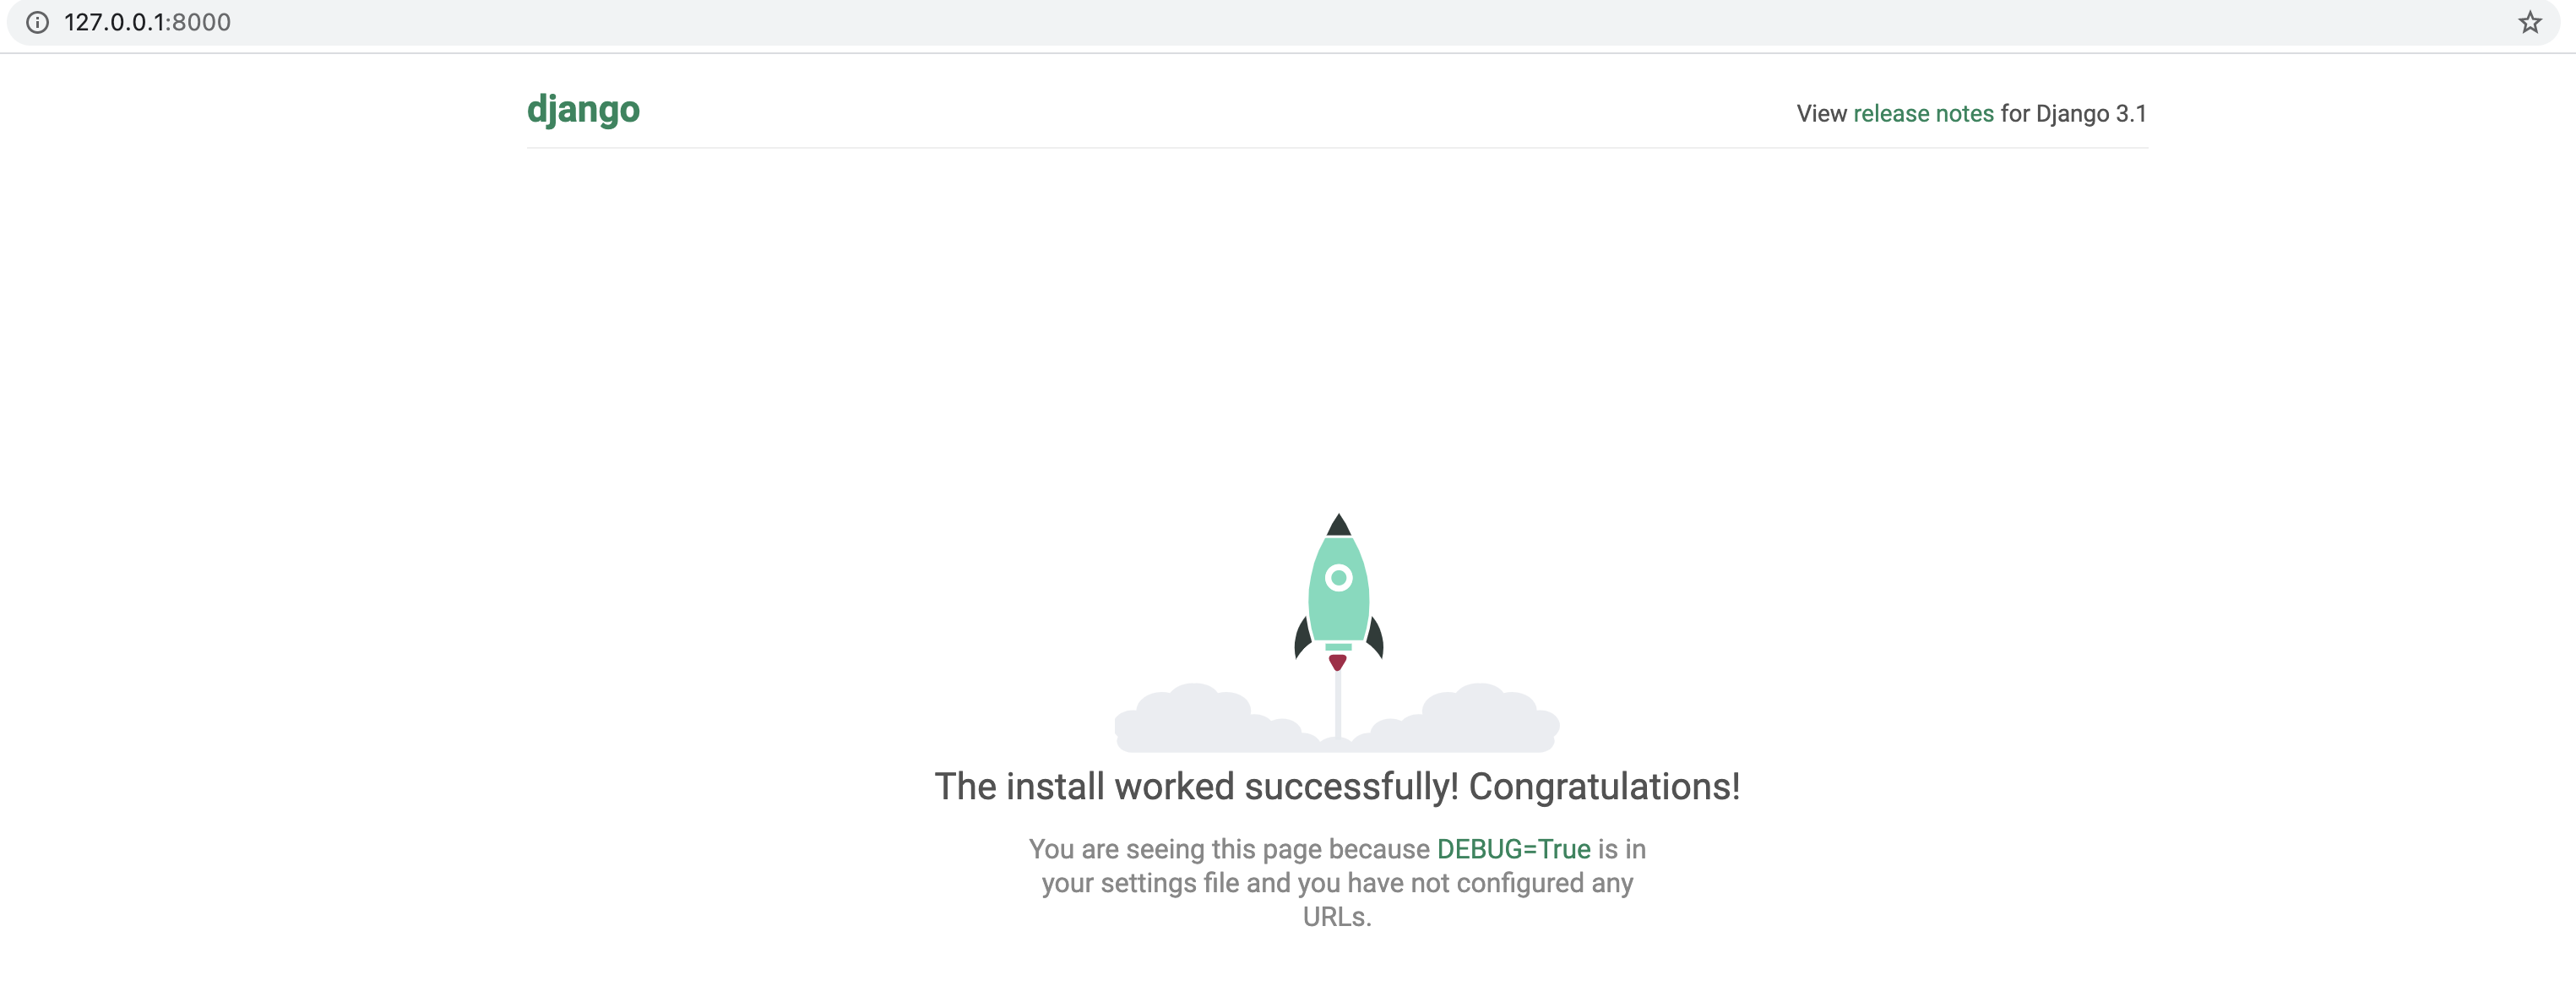
- Congrats! At this point you have your new Django app running!
Add functionality
You can now begin to add your application features by making updates to the
.imconfig file : myapp.imYou can start by reading more here about how you can add functionality to your app (TL;DR you can select your app settings, and represent various app domains, such as data models, APIs, storage and Authorization using Imagine's simple intutive syntax, in your
myapp.imfile).you can see an example of what an Imagine config file and syntax looks like, as well as the various files generated on our home page (remember to click the hamburger menu on the top of the right codebox to see the full list of generated folders and files).
You can also check out out our demo app, which includes an example functioning Imagine
demo.imconfig file and all the output files that are generated from this single file.
Compile
- Once you add functional code domains or change settings in your
.imconfig file, you can use the Imagine SmartCompiler to automatically generate Django code that implements the new functionality you added in the.imfile by running the following command in your terminal:
- Once your compile command finishes, you can run the updated app with the new functionality by running the command below:
- Once the command has finished executing, you will see the following message:
If you now go to the http://127.0.0.1:8000/ url you will be able to see and use the new functionality you added. For example, if you added some new APIs, they will be listed here.
You can also see the generated source code files and the implemented functionality by opening the app directory in your code editor.
Test
In addition to generating code for your functionality, the Imagine SmartCompiler also generates an extensive suite of tests to make sure your app is working as you expect it to.
You can run the SmartCompiler's auto-generated tests by by running the command below:
This command will run the suite of generated tests and print the current test coverage percentage. You can also see a more detailed report by opening the htmlcov/index.html file in your current directory in a browser.
You can view the source code for the generated tests by opening the myapp/tests directory in your code editor.
Deploy
The
compilecommand also generates docker configuration files that allow you to package the app in a container that you can then deploy to any cloud.You can create a docker build image by running the following command:
- Once the command finishes, you can check the generated docker builds by running the command:
- You will see the following output in your terminal:
- You can start these docker images on your computer by running the following command:
- You can now follow instructions from your cloud provider on how to deploy a Docker build image to production.